Respiratory Therapy

Ventilators, cough assist devices, nebulizers, and suction equipment — backed by 24/7 RRT support and backup equipment for every vent-dependent patient.

Backup Ventilator Program

Every vent-dependent patient at Dome receives backup equipment. If your primary unit needs service, a replacement is delivered — so your care is never interrupted. Available 24/7 through our Rapid Response Team.

Contact Our Team

General Help

Click a tab and open the topic you need. Always follow your physician's prescription — these are general references, not medical advice.

Ventilator — basic operation
  1. Confirm the ventilator settings match your prescription before starting.
  2. Connect the breathing circuit securely to the ventilator and to the patient interface (mask or trach adapter).
  3. Power on and allow the device to complete its self-test.
  4. Verify alarm limits are active and audible.
  5. Never change ventilator settings without direction from your physician or RRT.
Cough Assist — basic operation
  1. Power on the device and verify pressure/flow settings match your prescription.
  2. Apply the mask (or trach adapter) and seal it firmly.
  3. Start a manual cough cycle or use the automatic mode as prescribed.
  4. Pause between cycles and rest as directed.
Nebulizer treatment
  1. Wash hands. Pour the prescribed medication into the cup.
  2. Connect tubing from the compressor to the cup.
  3. Place the mouthpiece in your mouth (or mask over nose and mouth).
  4. Switch on and breathe normally until mist stops (10–15 min).
Suction / aspirator — basic use
  1. Wash hands and put on gloves before suctioning.
  2. Connect the suction catheter to the tubing and set suction pressure as prescribed.
  3. Gently insert the catheter — do not apply suction on insertion.
  4. Apply suction while slowly withdrawing the catheter (no more than 10–15 seconds per pass).
  5. Allow the patient to recover between passes. Rinse catheter with sterile saline between attempts.
Tracheostomy care — daily routine
  1. Wash hands thoroughly and put on gloves.
  2. Clean around the stoma with saline-moistened gauze, moving outward from the tube.
  3. Change the trach ties/holder when soiled or as directed — always have a second person assist.
  4. Inspect the stoma for redness, swelling, or unusual discharge. Report any changes to your care team.
  5. Keep a backup trach tube of the same size and one size smaller at the bedside at all times.
Ventilator — circuit & filter care
  • Inspect the breathing circuit daily for condensation — drain water traps away from the patient.
  • Replace the ventilator circuit per your physician's schedule (typically every 7–30 days).
  • Clean or replace the inlet filter monthly, or more frequently in dusty environments.
  • Wipe the exterior with a lightly damp cloth — do not spray liquids directly on the device.
Nebulizer & compressor cleaning
  • Rinse the nebulizer cup and mouthpiece with warm water after each use.
  • Disinfect daily by soaking in a 1:1 white vinegar and water solution for 30 minutes, then air dry.
  • Replace nebulizer cup every 6 months and tubing every 6–12 months.
  • Wipe the compressor exterior weekly with a clean damp cloth.
Cough Assist — filter & mask care
  • Replace the bacteria filter per manufacturer schedule (typically every 3 months).
  • Wipe the mask or mouthpiece with a damp cloth after each use.
  • Disinfect the patient circuit weekly using manufacturer-approved cleaning solutions.
Tracheostomy tube — inner cannula care
  • Remove and clean the inner cannula at least once per shift (or as directed by your physician).
  • Soak in hydrogen peroxide, scrub with a small brush, then rinse thoroughly with sterile saline or water.
  • Re-insert immediately or replace with a clean spare inner cannula.
  • Never leave the outer cannula without an inner cannula for extended periods.
Ventilator alarm is sounding
  1. Stay calm. Check the patient first — look, listen, and feel for normal breathing.
  2. Check that all circuit connections are secure and the mask or trach adapter is properly sealed.
  3. Look at the alarm display to identify the specific alarm (low pressure, high pressure, apnea, etc.).
  4. Low pressure alarm: usually a disconnection — check and reseat all tubing connections.
  5. High pressure alarm: may indicate a blockage, secretions, or patient coughing — suction if indicated.
  6. If you cannot resolve the alarm within 2 minutes, call Dome's 24/7 line at (718) 854-5501, option 8.
Device won't turn on
  1. Check the power cord is fully seated at both ends.
  2. Try a different outlet.
  3. For ventilators — switch to the internal battery if available and call Dome immediately.
  4. If still not working, call Dome at (718) 854-5501.
Trach tube appears blocked or dislodged
  1. If the patient is in distress — call 911 immediately.
  2. If the inner cannula is blocked: remove and replace it with a clean spare.
  3. If the outer tube is dislodged and the stoma is mature (>1 week): attempt careful replacement with the same-size tube.
  4. If you are unsure or unable to replace it, call 911 and keep the stoma open with a gloved finger until help arrives.
  5. Always keep a backup tube at the bedside.
Nebulizer producing little or no mist
  1. Check that tubing is connected firmly to both the compressor and the cup.
  2. Ensure the medication cup is not overfilled (max fill line).
  3. Check that the air filter on the compressor is not clogged — replace if grey or dirty.
  4. If mist is still weak, replace the nebulizer cup.
Power outage preparedness (vent-dependent patients)
  • Know how long your ventilator's internal battery lasts — check the manual and test it regularly.
  • Keep a backup power source (UPS or generator) and test it monthly.
  • Register with your utility company as a life-sustaining equipment user for priority restoration — links available on our home page.
  • Have a written emergency plan and share it with your local fire department.
  • Call Dome at (718) 854-5501 immediately if you lose power and the battery is low.
Safe use at home — general rules
  • Keep all respiratory equipment clean and dry at all times.
  • Do not operate near open flames, candles, or smoking areas.
  • Keep equipment away from heat sources, direct sunlight, and moisture.
  • Only use cleaning solutions approved by the manufacturer.
  • Do not modify any equipment or settings without clinical guidance.
Tracheostomy emergency kit — what to keep at bedside
  • One spare trach tube of the same size as currently in use.
  • One spare trach tube one size smaller (in case the stoma begins to close).
  • Trach ties / Velcro holder.
  • Sterile saline and gauze for stoma care.
  • Suction machine, suction catheters, and gloves.
  • Bag-valve mask (Ambu bag) appropriate for the patient's size.
  • Emergency contact numbers posted visibly (Dome 24/7: (718) 854-5501, option 8).

Our Equipment

Respiratory products we deliver, set up, and support in your home.

Invasive and Non-Invasive Ventilators
Equipment

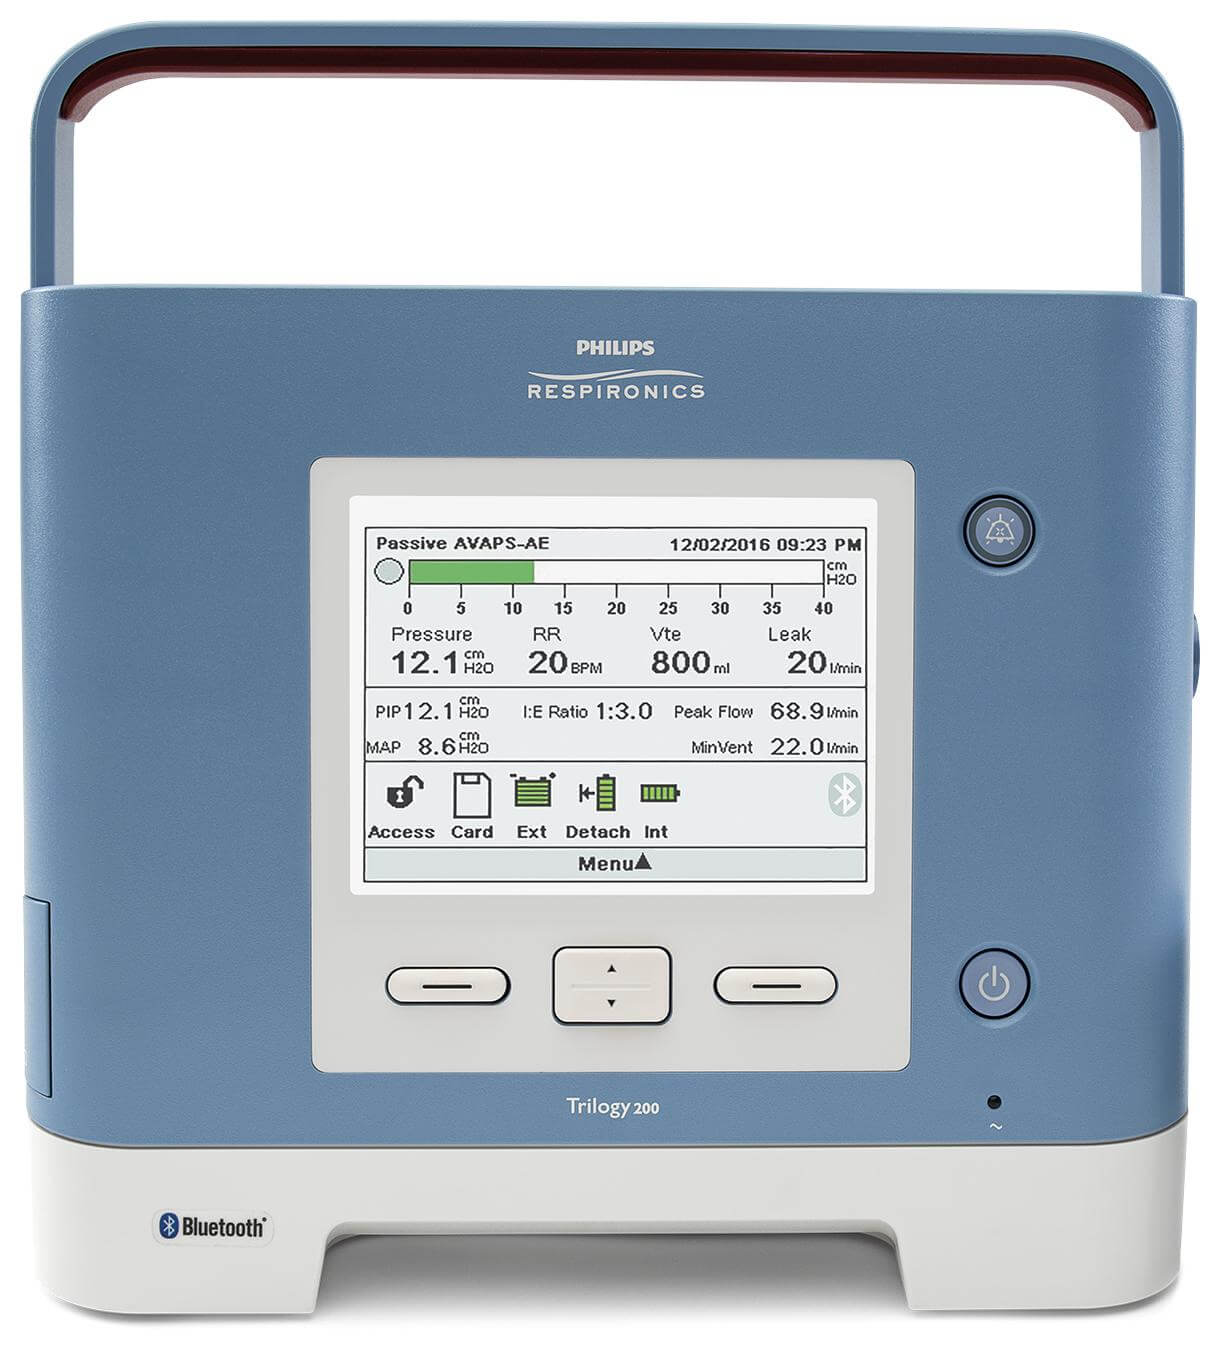
Philips Trilogy 100 Ventilator

Philips Trilogy 100 Ventilator

Versatile volume- and pressure-control ventilator for adult and pediatric patients (≥5 kg).
Equipment

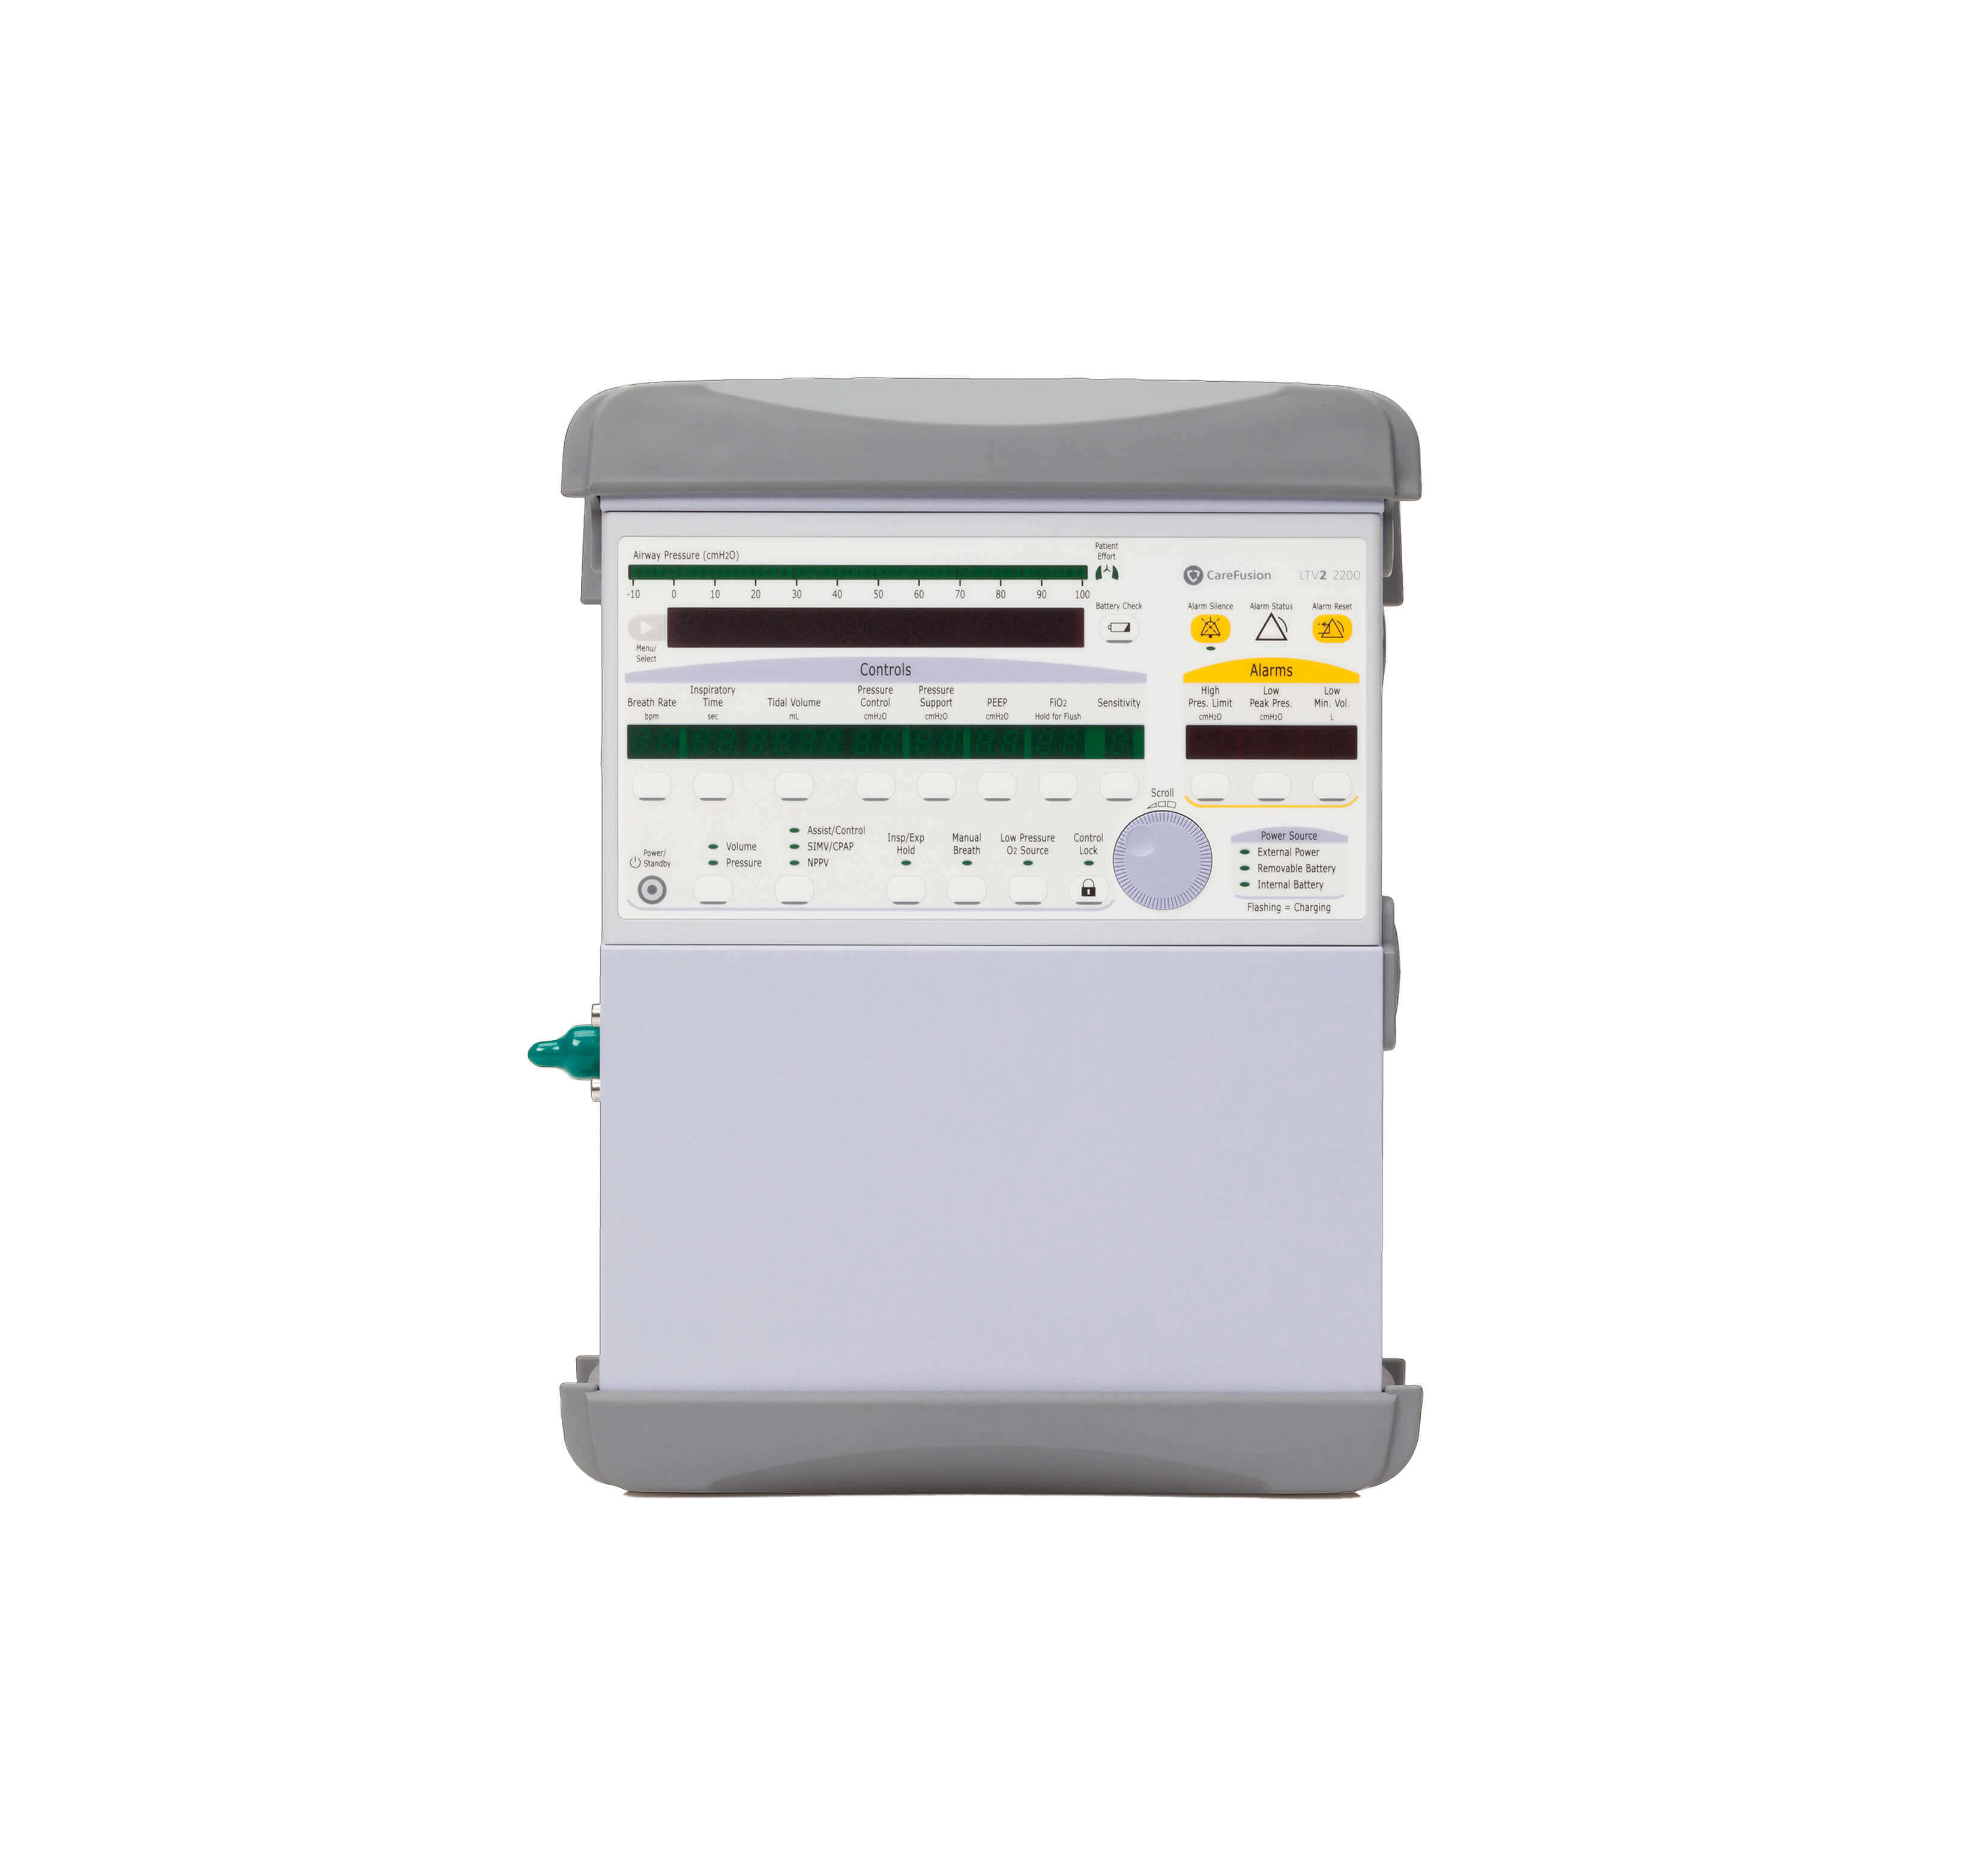
LTV Ventilator Series

LTV Ventilator Series

Hospital-grade LTV ventilator family — proven home ventilation platform.
Equipment

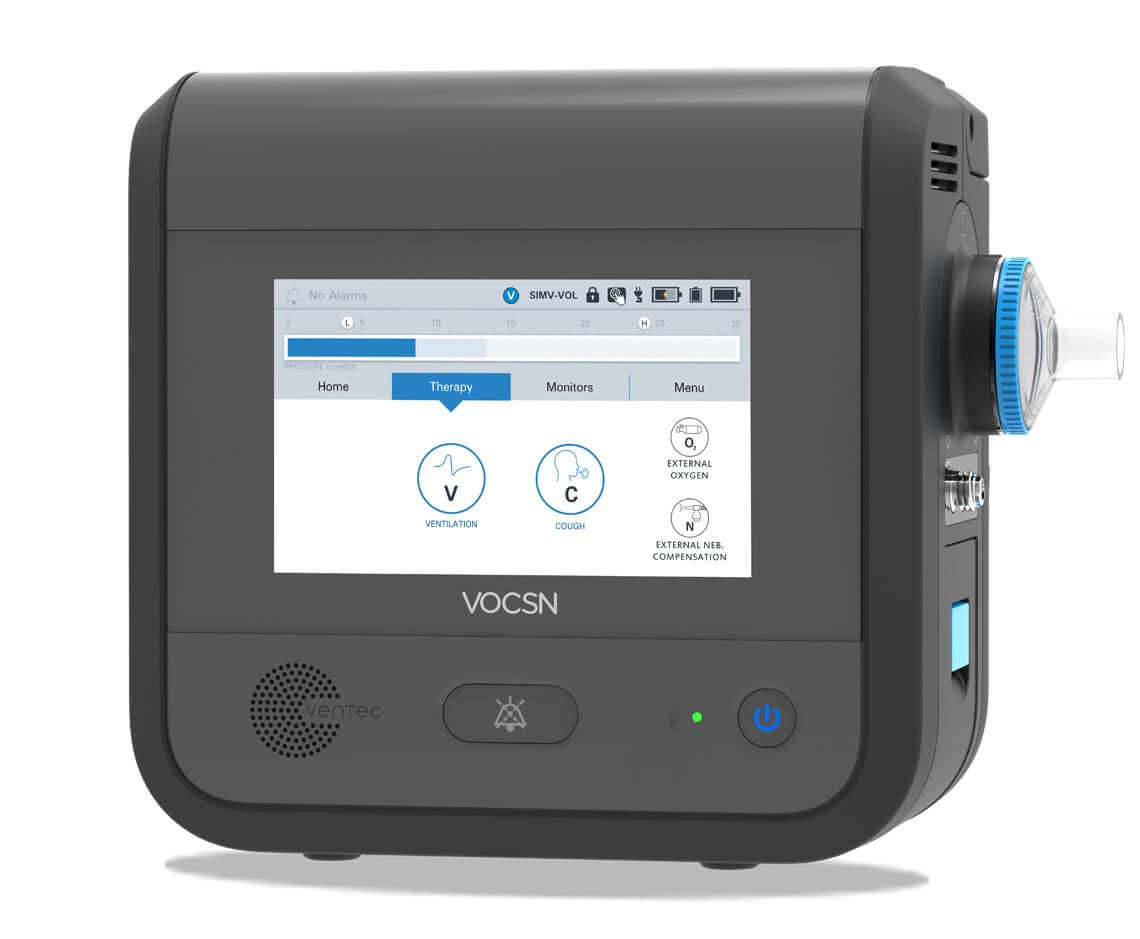
VC+ Pro Ventilator

VC+ Pro Ventilator

Advanced VC+ (volume-targeted pressure-controlled) ventilation for complex home and clinical patients.

BiPAP / CPAP
Equipment

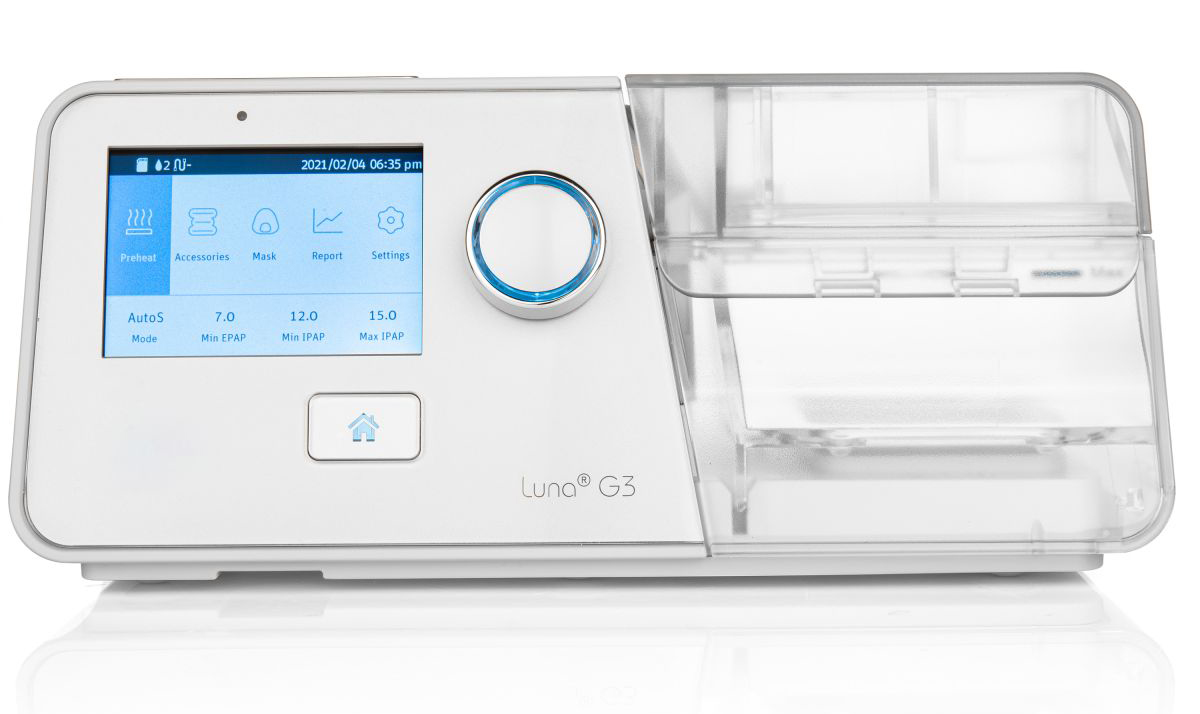
React Health Luna BiPAP

React Health Luna BiPAP

#LG3700

Bilevel positive airway pressure therapy for patients with sleep apnea, respiratory failure, or COPD requiring two-level pressure support.
Equipment

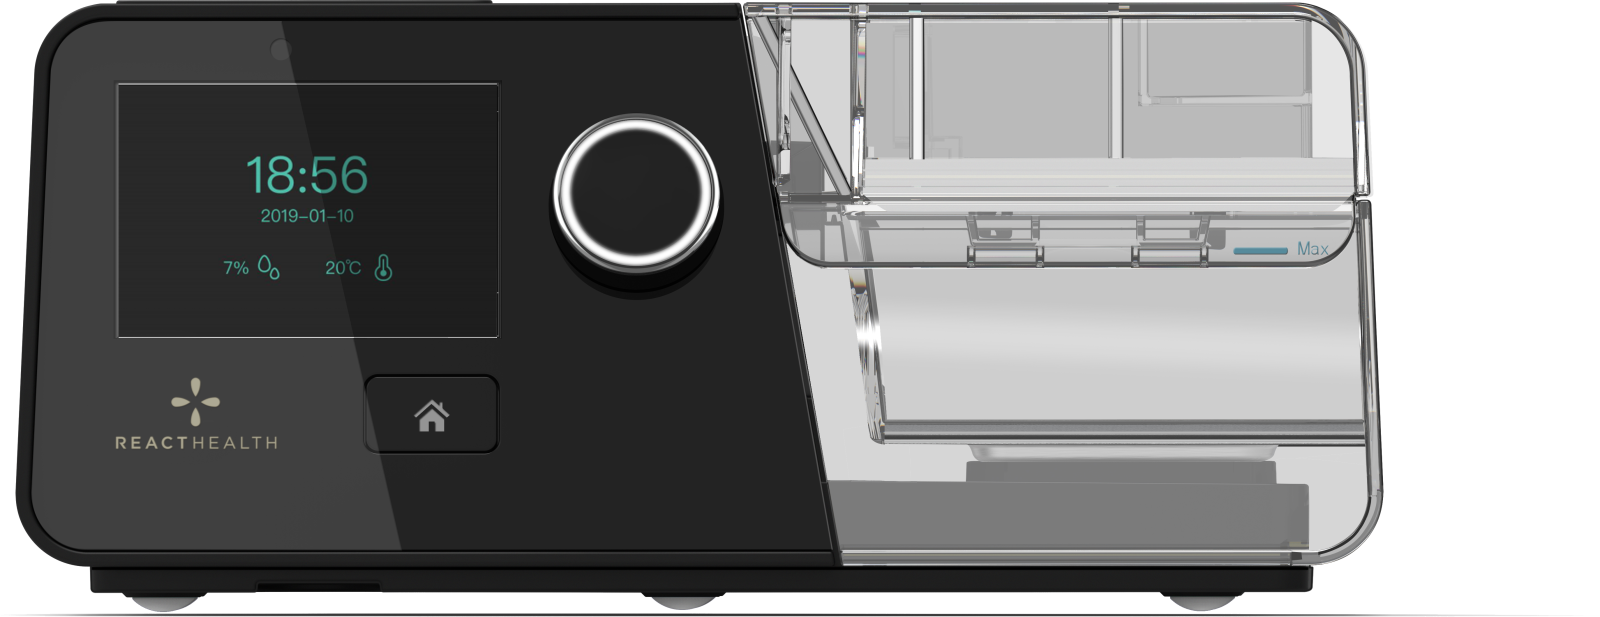
React Health Luna CPAP

React Health Luna CPAP

#LG3600

Continuous positive airway pressure therapy for obstructive sleep apnea — delivers a steady airflow to keep the airway open during sleep.

Suction Aspirator
Equipment

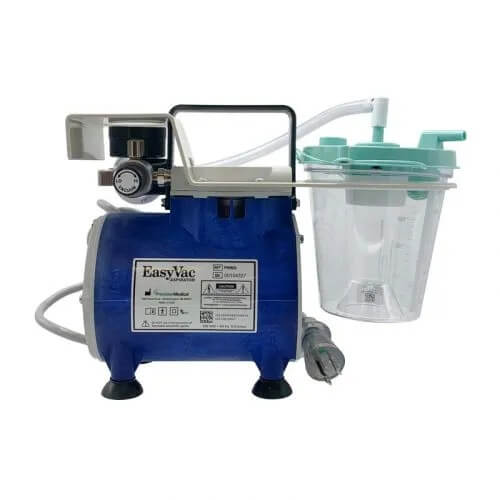
Suction Aspirator

Suction Aspirators

Portable and stationary suction units, pediatric and adult.

Nebulizers & Compressors
Equipment

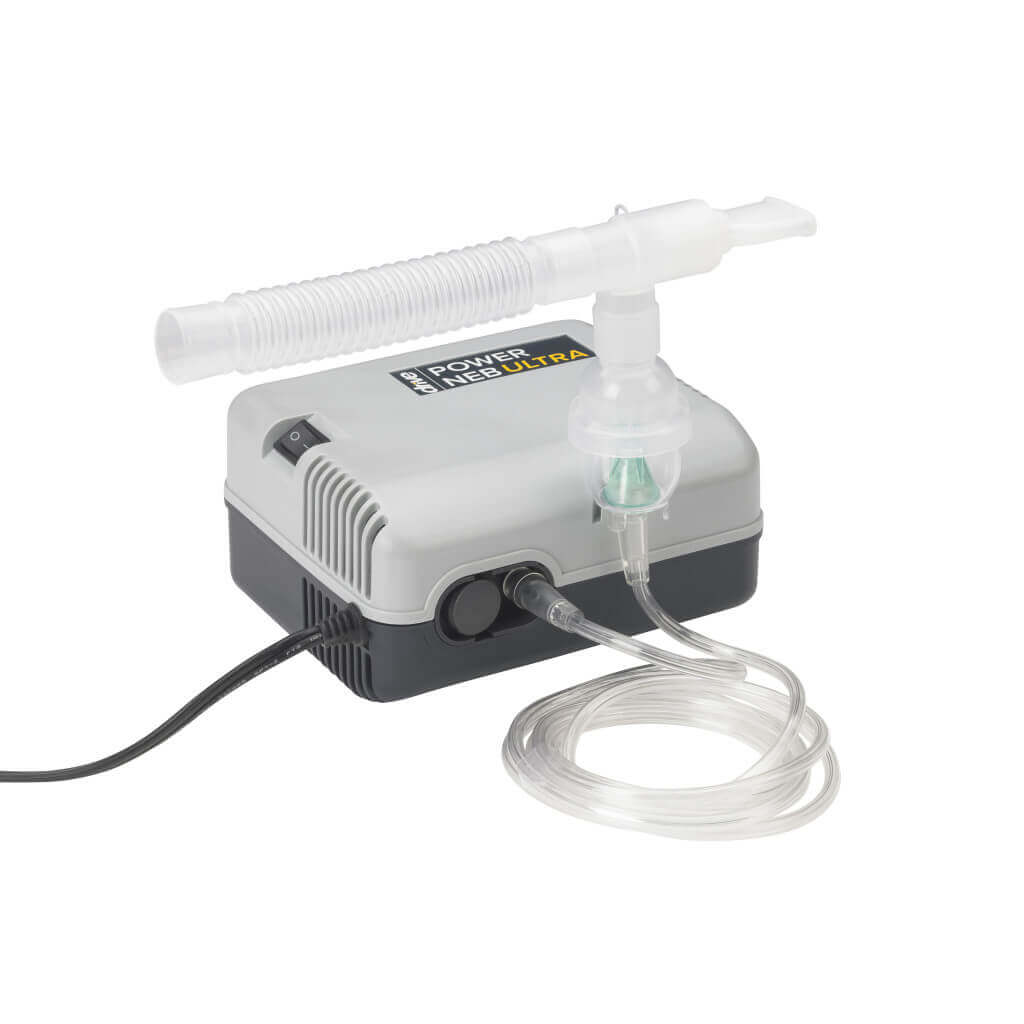
Drive Nebulizer Compressor

Drive Nebulizer Compressor

#18080

Compact tabletop nebulizer for aerosolized medication.
Equipment

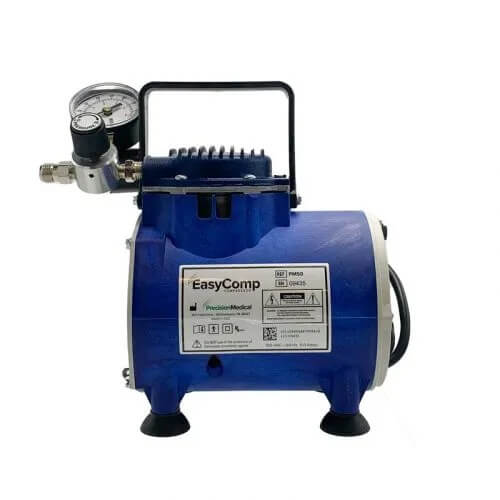
Medical Air Compressors

Medical Air Compressors

Oil-free medical air compressors for nebulizer and respiratory use.

Cough Assist
Equipment

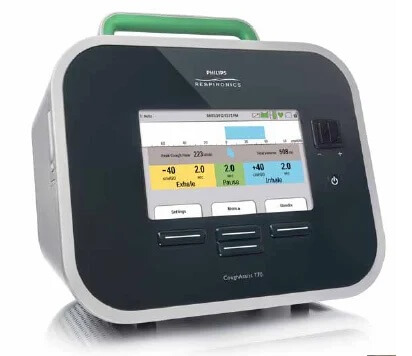
Philips CoughAssist T70

Philips CoughAssist T70

Mechanical insufflation-exsufflation device for patients with weak cough.

Philips CoughAssist T70 — Help & FAQ

How do I use this device?
Attach a bacteria filter to the breathing circuit connection, then connect the circuit tubing to the filter. The device can be used with a mask, mouthpiece, or tracheostomy adapter. Help the patient sit as upright as possible. Press the Start/Stop button to enter standby, then begin treatment. The device applies positive pressure to inflate the lungs, then rapidly shifts to negative pressure to simulate a cough and clear secretions. Always verify time and pressure settings match the prescription before each treatment session.
How do I clean it?
Wash the breathing circuit and patient interface (mask or mouthpiece) in mild liquid detergent and warm water after each use. Rinse thoroughly and allow all parts to air dry completely before the next treatment. Clean the air filter at least every two weeks by rinsing in warm water; replace it with a new filter every six months. The bacteria filter in the circuit cannot be washed — replace it per your care team's schedule.
What if it's not working?
Verify all circuit connections are tight and that the patient interface fits securely without leaks. Confirm pressure settings on the display match prescribed values. If the device will not power on, check that it is fully plugged in. If secretion clearance seems ineffective or the device behaves unexpectedly, call our team at (718) 854-5501.

Drive Nebulizer Compressor — Help & FAQ

How do I use this device?
Place the compressor on a flat, stable, dust-free surface and plug it into a grounded outlet. Wash your hands, then attach one end of the tubing to the air outlet on the compressor. Add the prescribed dose of medication to the nebulizer cup, attach the mouthpiece or mask, and connect to the tubing. Place the mouthpiece firmly in your mouth (or fit the mask snugly) and sit upright. Turn on the compressor and breathe slowly and deeply until the cup is empty — usually 5 to 20 minutes depending on the medication.
How do I clean it?
After each use, disassemble the cup, mouthpiece, and mask; rinse under warm running water and air dry on clean paper towels. Once daily, wash these parts in warm soapy water, then soak 60 minutes in a solution of 1 part white distilled vinegar to 3 parts warm water, rinse thoroughly, and air dry. Never wash the compressor tubing. Wipe the compressor exterior with a damp cloth (unplug first). Check and replace the air filter periodically — a clogged filter reduces mist output.
What if it's not working?
If mist is weak or absent: confirm the compressor is plugged in and on, check all tubing for kinks or disconnections, and inspect the air filter for clogs. Poor mist is most often caused by clogged nebulizer parts — clean thoroughly and retry. If the compressor does not run at all, try a different outlet. For continued problems, call our team at (718) 854-5501.

Medical Air Compressors — Help & FAQ

How do I use this device?
Place the unit on a hard, flat surface away from walls, curtains, and furniture to allow proper airflow. Plug the power cord into a grounded electrical outlet. Attach the appropriate device (humidifier bottle, tubing, mask, or tracheostomy collar) to the air outlet as directed by your care team. Fill the humidifier bottle with sterile distilled water only — never use tap water. Turn on the compressor and confirm airflow before connecting to the patient.
How do I clean it?
Unplug the unit before cleaning. Wipe the exterior with a clean, damp cloth. Remove the air filter, rinse it under warm water, and pat dry — allow it to dry completely before reinstalling. For the humidifier and attached parts: wash with warm soapy water, soak 60 minutes in a 1-to-3 vinegar-to-water solution, rinse with very warm water, and air dry completely. Keeping equipment clean prevents respiratory infections caused by contaminated equipment.
What if it's not working?
Check that the power cord is fully plugged in and the outlet is active. Confirm all connections — tubing, humidifier, and patient interface — are tight. Check the humidifier water level and refill with sterile distilled water if low. If the unit runs but produces no airflow, inspect the tubing and filter for blockages. For unresolved issues, call our team at (718) 854-5501.

Suction Aspirators — Help & FAQ

How do I use this device?
Wash your hands thoroughly with antibacterial soap before each use. Turn on the suction machine and set the pressure to 80–120 mmHg as directed by your care team. Put on clean gloves. Moisten the catheter tip with sterile saline, then gently insert it into the tracheostomy tube or airway. Apply suction for no longer than 10 seconds per pass. Suction at a minimum twice daily — once in the morning and once before bed — and also before meals and after respiratory treatments.
How do I clean it?
After each use, flush the catheter and connection tubing by suctioning clean distilled water through them. Empty, wash, and rinse the suction collection bottle and tubing with hot, soapy water daily; rinse with clean tap water and air dry. Replace suction catheters after 24 hours or per your care team's schedule. Never reuse a catheter beyond its intended period.
When should I call for help?
Contact your care provider immediately if mucus is yellow, green, brown, or foul-smelling — this may indicate infection. Call 911 or go to the nearest emergency room if secretions cannot be cleared or if the patient feels short of breath after suctioning. For equipment problems such as weak suction or the machine not powering on, call our team at (718) 854-5501.

React Health Luna BiPAP — Help & FAQ

How do I set up and use my BiPAP?
Place the device on a flat, stable surface near an electrical outlet and below the level of your head. Connect one end of the tubing to the air outlet on the device and the other end to your mask. If your device has a humidifier, open the water chamber cap, fill with distilled water to the max fill line, and close it. Connect the power adapter to the DC inlet and plug in. Put on your mask, making sure the seal is snug but not overly tight, then power on the device — therapy begins automatically when you breathe into the mask. Always follow the pressure settings prescribed by your physician.
How do I clean my BiPAP equipment?
Daily: disconnect the mask and tubing and hand-wash them in warm water with a mild, unscented liquid dish soap. Rinse thoroughly and hang to air dry away from direct sunlight. Weekly: wash the tubing and water chamber the same way. Monthly: check the air filter — rinse the reusable gray foam filter under warm water, let it dry fully, and reinstall. Replace the disposable ultra-fine white filter every two weeks or sooner if it looks discolored. Wipe the device exterior with a lightly damp soft cloth. Never use bleach, alcohol, or abrasive cleaners on the mask or tubing.
What if the device is not working or feels uncomfortable?
If the device does not turn on, check that all power connections are secure and the outlet is active. If therapy feels uncomfortable or the pressure seems wrong, do not adjust settings yourself — contact your care team. If the mask leaks, adjust the headgear straps gradually until the seal is secure without over-tightening. For continued problems or equipment concerns, call our team at (718) 854-5501.

React Health Luna CPAP — Help & FAQ

How do I set up and use my CPAP?
Place the device on a flat, stable nightstand at or below head level. Connect one end of the air tubing to the outlet on the device and the other end to your mask. If your device has a humidifier, open the chamber cap, fill with distilled water only (to the max fill line), and close. Plug the power adapter into the device's DC inlet, then into the wall. Put on your mask and adjust the headgear for a comfortable, leak-free seal. Power on — therapy starts as soon as you breathe in. Only use the pressure settings your physician prescribed; do not change them yourself.
How do I clean my CPAP equipment?
Daily: hand-wash the mask cushion and headgear in warm water with a mild, unscented dish soap; rinse well and air dry. Weekly: wash the tubing and water chamber the same way. Reusable gray foam air filter: rinse under warm water every two weeks and allow to dry completely before reinstalling. Disposable ultra-fine white filter: replace every two weeks or when visibly dirty. Wipe the device housing with a soft, slightly damp cloth. Never use bleach, scented soaps, alcohol wipes, or abrasive cleaners — these degrade mask seals and tubing.
What if the device is not working or I can't sleep with it?
If the device won't turn on, verify all power connections and try a different outlet. If your mask leaks, try re-adjusting the headgear — small incremental tightening usually resolves it; a mask that is too tight can cause pressure sores and does not seal better. If the pressure feels too high or low, call our team — settings can only be adjusted with a physician's order. For any unresolved equipment issue, contact us at (718) 854-5501.

Philips Trilogy 100 Ventilator — Help & FAQ

How do I use this device?
Press the power button to turn on the ventilator — breathing support begins immediately. Connect your prescribed breathing circuit to the air outlet. There are two circuit types: a passive circuit with a controlled expiratory leak, and an Active PAP circuit with an expiratory valve and proximal pressure line. Always use the circuit type specified in your prescription. The device can run on AC power or its internal/external battery. Keep the battery charged and confirm the AC Power LED is lit when plugged in. Do not change any settings without guidance from your care team.
How do I clean it?
Unplug before cleaning. Wipe the exterior and display with a soft cloth dampened with mild detergent, 70% isopropyl alcohol, or a 10% bleach solution — never pour or spray liquid directly on the device. Use extra care on the display screen; avoid abrasive cleaners. For the air inlet filter: remove it, wash gently in warm soapy water, rinse thoroughly, and allow to air dry completely before reinstalling. Follow your DME provider's recommended cleaning schedule.
What if it's not working?
If the ventilator alarms, check circuit connections first — a loose tube is the most common cause. If the device won't run on battery, ensure it is plugged into AC power with the charging indicator lit; keep it away from heat sources and confirm the cooling vents are not blocked. Never silence a persistent alarm without resolving its cause. For any unresolved alarm or breathing difficulty, call our team at (718) 854-5501 or dial 911 for emergencies.

LTV Ventilator Series — Help & FAQ

How do I use this device?
The LTV is a portable invasive/non-invasive ventilator weighing approximately 14 lbs. Connect the patient circuit per your clinician's instructions, then power on the device. It can operate on AC power, DC (vehicle power), or the optional Sprint-Pack external battery, which provides up to 6 hours of portable use. Ventilation modes and settings are prescribed by your physician — do not change them without instruction from your care team.
How do I clean it?
Wipe all external surfaces with a clean, damp cloth and a mild antibacterial solution. Do not use cleaners containing ammonium chloride, chloride compounds, more than 2% glutaraldehyde, phenols, or abrasives. Never immerse the ventilator in liquid or spray cleaner into the exhalation valve or front panel. Clean the external inlet filter monthly (or more often in dusty/humid environments): wash with mild soap and a soft brush, rinse thoroughly, and allow to dry completely before reinserting.
What if it's not working?
If the ventilator alarms, check all circuit connections for disconnections or leaks. Verify the power source — switch to AC power if the battery is low. Do not attempt to adjust alarm or ventilation settings yourself. If alarms persist or the patient is in respiratory distress, call 911 immediately. For non-urgent equipment concerns, contact our team at (718) 854-5501.

VC+ Pro Ventilator — Help & FAQ

How do I use this device?
The VC+ Pro supports both invasive and non-invasive ventilation for home use. Set up the breathing circuit as directed by your respiratory therapist and connect to the patient interface (mask or tracheostomy adapter). Power the device from AC power or the built-in battery. All ventilation settings are programmed by your care team — do not adjust them without clinical guidance. Always confirm the device is alarming correctly and that circuits are properly connected before starting a session.
How do I clean it?
Wipe the device exterior with a soft cloth and a hospital-grade disinfectant wipe or mild detergent solution. Keep liquid away from ports and the control panel. Clean or replace the inlet air filter per the manufacturer's schedule. Clean and disinfect the breathing circuit and patient interface per your care plan — generally with warm soapy water followed by a 1-to-3 vinegar-to-water soak, then rinse and air dry completely before next use.
What if it's not working?
Check that all circuit connections are secure and the power source is active. If an alarm sounds, review the alarm display for a cause code and do not ignore it. If the patient experiences any breathing difficulty, call 911 immediately. For equipment troubleshooting or service, contact our team at (718) 854-5501.
Need respiratory & trach supplies?

Trach tubes, suction catheters, vent circuits, nebulizer kits, sterile saline & more — view the full list in our Supplies Catalog.

View Supplies Catalog

Need Help?

For a medical emergency please dial 911.
For equipment questions our team is here Mon–Fri 9 AM – 5 PM.

Contact Our Team   (718) 854-5501